To design my simple characters I took some of the characters that are within the Prisons and drew them. There is going to be minimal details on them, they are more to add to the atmosphere of the environment.
Labels
Showing posts with label Thumbnails. Show all posts
Friday, 28 November 2014
Prison Details and character design
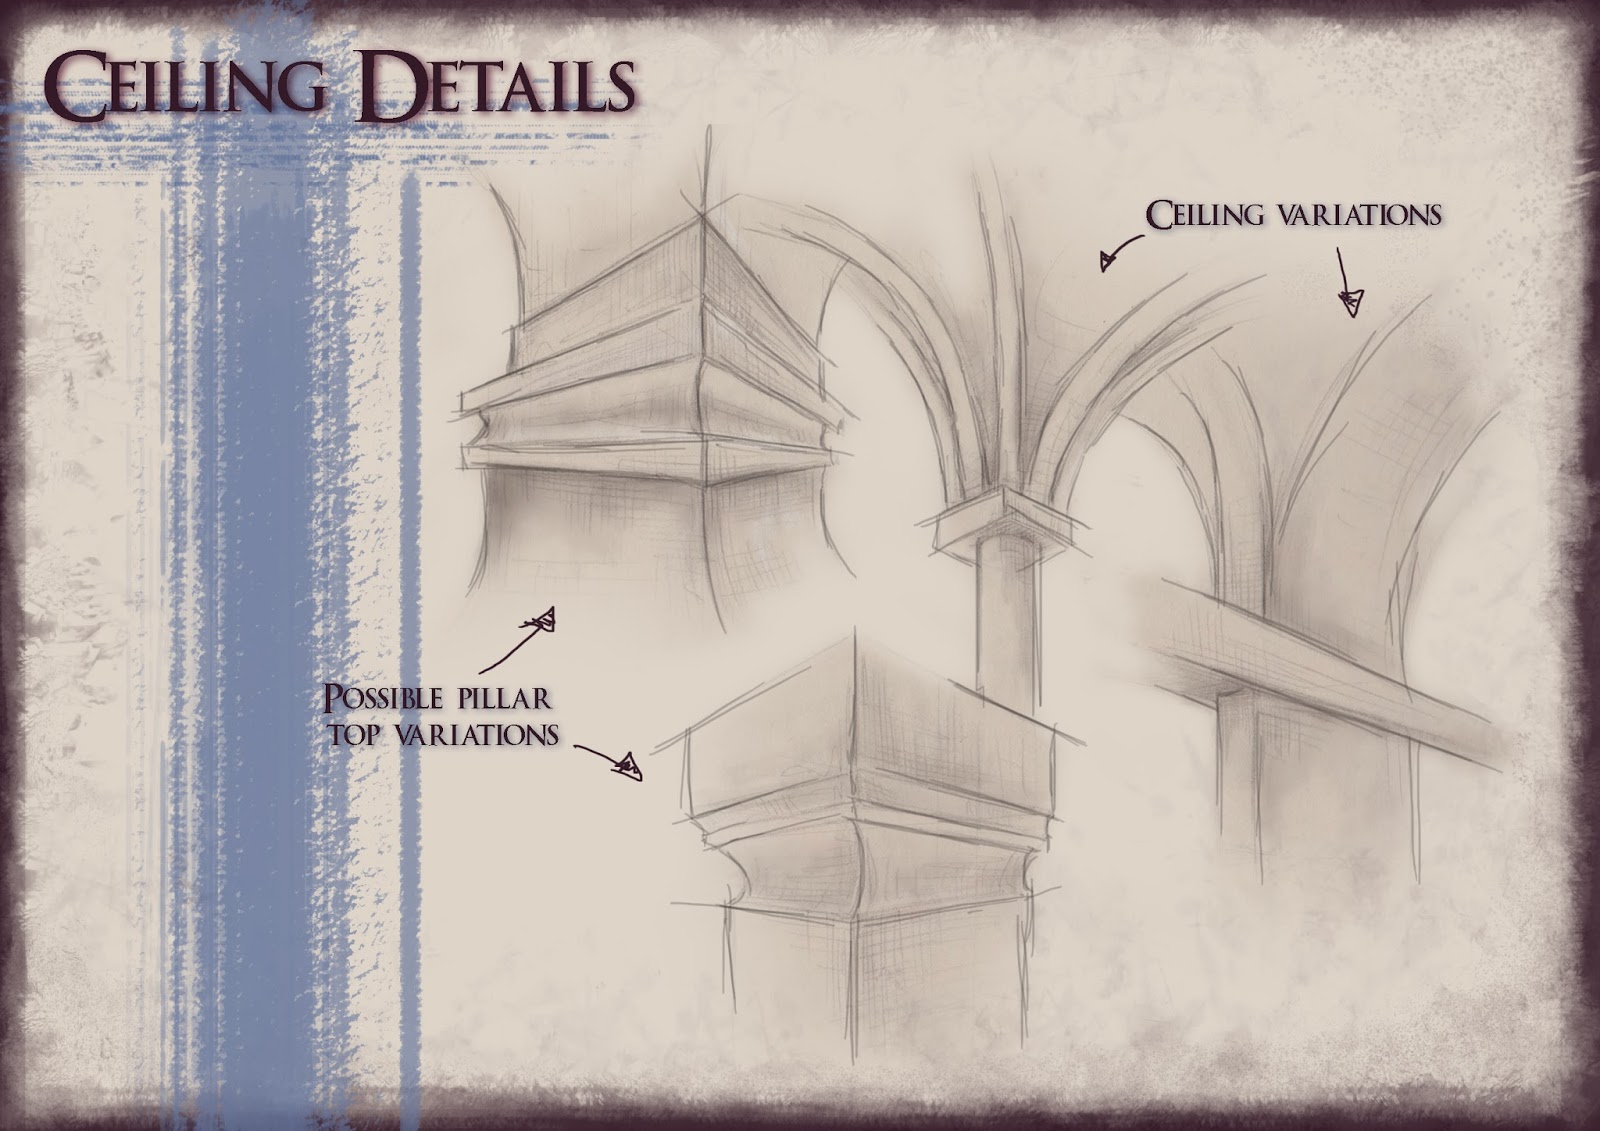
To help myself when I go into modelling my imaginary prisons I decided to use my base structure and draw the details onto it to make it easier to know exactly what I am modelling. I still have a few of these to do but I have decided to do them while I'm in china as I won't have access to a computer when I'm there.
To design my simple characters I took some of the characters that are within the Prisons and drew them. There is going to be minimal details on them, they are more to add to the atmosphere of the environment.
Thursday, 27 March 2014
City Design
After talking to Phil in my tutorial yesterday it was suggested that I add one of my other thumbnails to the background to show that there is more of the city and to bring back the scale of it.
Tuesday, 25 March 2014
City final design
After working on my gate I realized there were a lot of elements to it that I could incorporate into my city design and was meant to, but along the way seemed to forget about it. So I went back and just made a few minor adjustments which I feel make it a lot better.
Gate final design
After finalizing my design for my city I went back to my gate and made a few adjustments so that the architecture of the gate fit with my city, so here is the orthographic of my gate. I still need to add the people to it but that's something that I will do now that I'm working on the final concept art, they don't need to be in the orthographic.
Character Orthographic
Here is my simple generic characters orthographic's that I'll be duplicating and placing around my scene.
Figuring out final concept
I've been working on the composition for my final concept art and it has proven to be a little difficult. The first image is what I originally was going to go with but for some reason there is something about it I didn't feel was quite right. So I changed around where bits went in the image.
This one I liked the placement of things better but this composition still didn't really work for me either so again it was back to fiddling with the perspective and composition.
The perspective in this one was a lot better in terms of the buildings but when I put the foreground I didn't really like it.
I finally managed to get it to the point where I liked it and it's ready to be finished in Photoshop now.
Thursday, 20 March 2014
More thumbnails
I started putting together the structures to make my city but I was struggling a bit with perspective was quite difficult to get the upward perspective I wanted with such odd shapes.
So I went back into maya and replaced the old structure of the city I had with the new shapes I had made from bat silhouettes and started to draw from that.
It was a lot easier to draw from now but I still think I need to push the perspective more the second thumbnail is more successful but I think I still need to push it a bit more. I'm going to be taking the drawing into Photoshop now so that I can add atmosphere and a foreground.
Sunday, 16 March 2014
Structure thumbnails
After taking bat silhouettes into Maya and and playing around with them I did a few thumbnails using these new forms I have made. Now that I have done these I'm going draw the city as a whole and see what I can come up with.
Thursday, 13 March 2014
Structure thumbnails
After feedback from Phil I tried to take my thumbnails in a different direction and create creepier looking structures. Hopefully this time I'm heading in the right direction.
Wednesday, 12 March 2014
Thumbnails
So after figuring out the basic shape of my city in Maya it's time to put a few details onto here is just a few thumbnails trying a few things out on one of the models I did.
Saturday, 8 March 2014
Thumbnails
Here are some thumbnails to figure out the detail that will be on the gates into The City of Dis. The top row are designs inspired by bats and the bottom by snakes. I personally really like the bat inspired designs the best especially 1 and 3. The snake ones just don't really seem creepy enough.
Wednesday, 5 March 2014
Rough Concept Models
So I've done rough models of all the floor plans that I did and I'm pretty happy with the results, I have a much better idea of what I need to do, such as some of the more closed floor plans don't really work as they just look like solid objects and the detail will be lost on them. So I know I need to make my city more open so that it can be imposing but the detail is not lost. There are certain aspects of a few of the floor plans that I really like. Number 1, 5, 8 and 11 I can see having some potential. So my next step will be to continue moving bits around and combining parts and seeing what I can come up with.
Monday, 3 March 2014
More floor plans
I did some more floor plans so that I would have quite a few to play around with in Maya, and hopefully it will start to give me a basic structure that I can work with and add details to.
Thumbnails
After doing my collages I went onto trying to create them into something that looks like a city. I did some thumbnails and I really didn't like them, some of them look more like plants than anything else, so I felt a little bit lost with what I was doing and when I had my tutorial with Phil earlier in the week he suggested I take a different approach with things since the way I was doing stuff wasn't working. So I did some floor plans of my city to try help me figure out what type of structure I'll be working with.
So here are my floor plans. I'm not quite sure about them if any of them would work Until I start visualizing them in 3D its hard to say. So I think I'll make some more and then take them into Maya and see what I can come up with.
After I did the floor plans I went back to one of my collages and thought I would give it another go at trying to create something out of it. This time going for designing the gate. I actually did a thumbnail I really liked, it took me quite a while to get it but it was the first thing I was happy with so I went on to develop it a little further and design the rest of it.
I thought I would draw the gate straight on so I could figure out the way I wanted the rest of it to look. I like the idea of having people stuck within the gate and I like the arches that go around it but still not sure what the design on the gate will be. I kind of like Gate 2 but I'm not 100% sure about it.
So now I need to go back to designing the city I think with the floor plans I made and using aspects of the gate I can come up with some thumbnails I like. I'm also thinking of taking my collages into Maya along with the floor plans and making them in 3D so I can look at them in a new way.
Thursday, 20 February 2014
More collages
Here are the rest of my collages, I ended up using very few of my photos that I had left since they were not abstract images it was quite difficult to manipulate them into something usable that didn't still look like the original photo. I started to repeat the same process that I had used on some of the other images and came up with the same results, but I think I have quite a few collages to work with some of them are definitely more usable than the others, so now what I'll be doing is start to bring all these collages into something recognisable as a city.
Adaptation B: Collages
I've been making some collages with the photos I have taken and posted in a previous post. Below is my progress so far. I still have a number of photos left to play around with and I'm aiming to have this stage done by the end of tomorrow, but I thought I would post up my progress so far. After I've completed this process with the remaining photos that I have, I will be taking these very abstract images I've created and start bringing them into a more coherent images that will hopefully start to resemble the city I will be creating.
Thursday, 2 January 2014
Character Design: Sidekick development
Since my sidekick is my hero's brother I used my hero to design him. I've kept them very similar and changed the the nose mostly. I then started to think about how he will look when the villain posses him. It's quite difficult to show the way he is going to look without colour so the sketches were just to help me figure out some things. His eyes are going to be the same as the villains, not in shape but in colour. He will have veins spider-webbing over his skin coming from his temples and neck and they will spread over his body. he will have gaunt cheeks and chapped lips etc..
Below is some options for my sidekicks hair, I didn't add on all the extras onto his face since I just wanted to figure out his hair. I'm thinking of going for number 5.
Below is just an outline of what my sidekick will look like, When I do the final concept art for him is when I'll be adding all the colour and shading details to him. This shows what his clothes and the colour of them will be. I took his clothing design from the sheet I did for my hero since they are from the same tribe and brothers I wanted them to be wearing similar things.
Below is my sidekicks turnaround from the side you can see his spine sticking out from his back a lot more than a human spine should this is one of the areas that the villain that is possessing him shows through along with his eyes etc..
Saturday, 28 December 2013
Character design: Hero development
Here is my hero development so far. I did a few experiments as to what type of hair and clothes I wanted, and then did some quick colour variations with the clothes so I could decide what colours Ill be using for him. I preferred quite neutral colours.
Tuesday, 24 December 2013
Villain Progress
I thought I would give drawing my villain in 3/4 view a go and try and connect it to the rest of the body. Below is the result, I'm quite happy with it the body is slightly out of proportion but as a first attempt I'm pleased with it.
Character Design: Villain development
After struggling with my villain character quite a lot over the past few days I think I finally have a design for him. I need to draw him out fully now but I think most of the designing is done for him and I can go back to focusing on my hero and sidekick.
Subscribe to:
Posts (Atom)